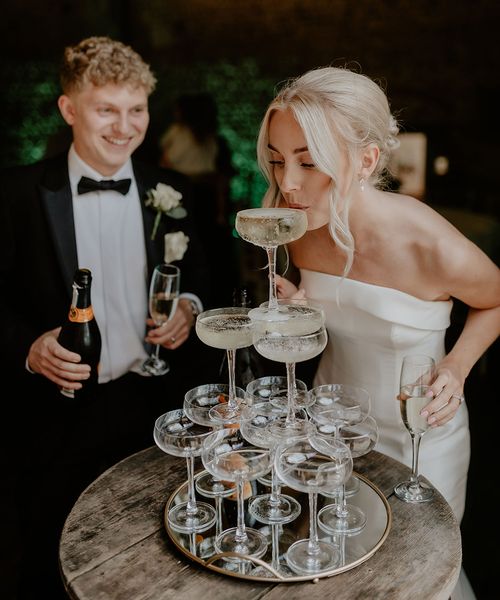
Do you want to have a champagne tower at your wedding? We can hardly blame you. Simple yet stunning, elegant and artistic, this drinks display can take your wedding aesthetic to the next level. At first glance, it may look incredibly difficult to build a champagne tower. Especially if, like me, your coffee consumption has led to shaky hands. Luckily for you, though, we're going to be talking through just that. You might be surprised that it's actually simpler than it looks. So, grab a glass and let's get cracking!
Bring in a champagne tower to spruce up your wedding!
Start strong
If you want to impress your guests and look cool doing it, a champagne tower is your answer. But knowing how to build one, ensuring glass and champers aren't flying everywhere, is fairly important. So, let's start with the foundation. Literally! For a good tower, you need a very solid base. A large, heavy table is ideal, and a spillage tray wouldn't go a miss, either. Weak or wobbly tables are a big no-no. There's nothing worse than finding a table you think is perfect in every way only to find it can barely hold a teacup, let alone multiple filled glasses. It's advised that you do a weight test with your chosen table, just to be safe. You also want to make sure you know your table height. No one wants a champagne tower where you can't actually reach the top glass! Cindy & Jason had the right idea - their table is clearly strong enough to hold the tower, candles, and a bottle. It's also the perfect height. Great work, guys!


Champagne tower construction
In short, your champagne tower is put together by creating squares getting consecutively smaller as the tower goes upwards. So it goes four by four glasses, then three by three, et cetera. Finally, a single glass sits at the top of the tower. If you want to go bigger, great! Totally possible. You could start with ten glasses as a base, then nine glasses by nine for the following layer, and so on. If you do it right, this should see a topping of four glasses creating a diamond in the middle.


Here's a rough guide of the number of glasses you will need to build your champagne tower:
- 5 tiers: 55 glasses
- 6 tiers: 91 glasses
- 7 tiers: 140 glasses
- 8 tiers: 204 glasses
- 9 tiers: 285 glasses
- 10 tiers: 365 glasses
We recommend not going for more than 10 by yourself. That's for the professionals to deal with. Jordan & Dougie's impressive 6-tier tower looks fantastic, and is a great source of inspiration.


Time to pour!
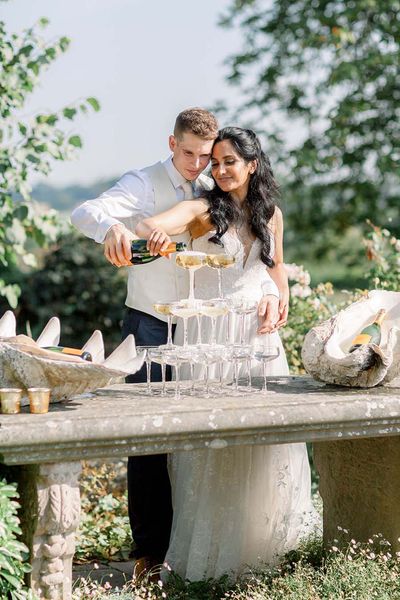
Now that you've got your beautifully constructed champagne tower, it's time to pour the juice. Whatever your choice of alcohol, the way you pour is important to ensure all the glasses are filled. To begin with, start pouring the champagne (or Prosecco, cava, etc.) slowly into the top glass. Keep pouring and make sure the champagne begins to overflow. Once it starts overflowing, the champagne will trickle down into the glasses below. Keep pouring until each glass on each layer overflows into the layer below. Keep a careful eye on the bottom glasses, and stop when each glass is filled. It really is that simple! To work out how many bottles of alcohol you need, a rough guide is it's usually six glasses per bottle. Photos from Sam & Alex's gorgeous tower show the motion of the champagne ocean perfectly.


Now you know how to build your champagne tower - pour away!
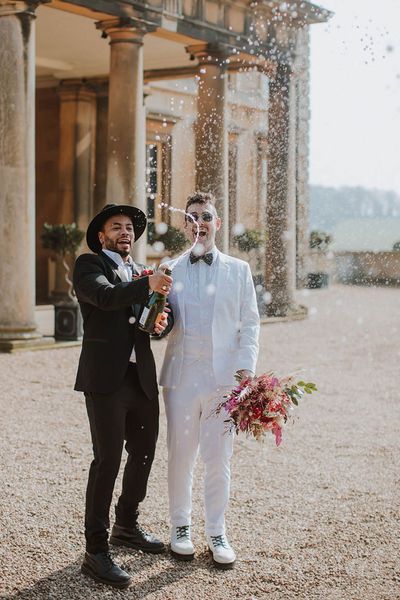
Champagne towers are certainly an alluring affair. They look great, and taste even better! Hopefully, you're now feeling a bit more confident in your tower building. Still in need of some inspiration? Anneka & Scott's wedding and champagne tower are straight out of a fairytale. If you want to wiggle champagne into your wedding through a different avenue, then maybe a champagne pop is the way to go. Speaking of alcohol - are you looking for a bar for your wedding? Then our Recommended Suppliers page has all the information you need.


